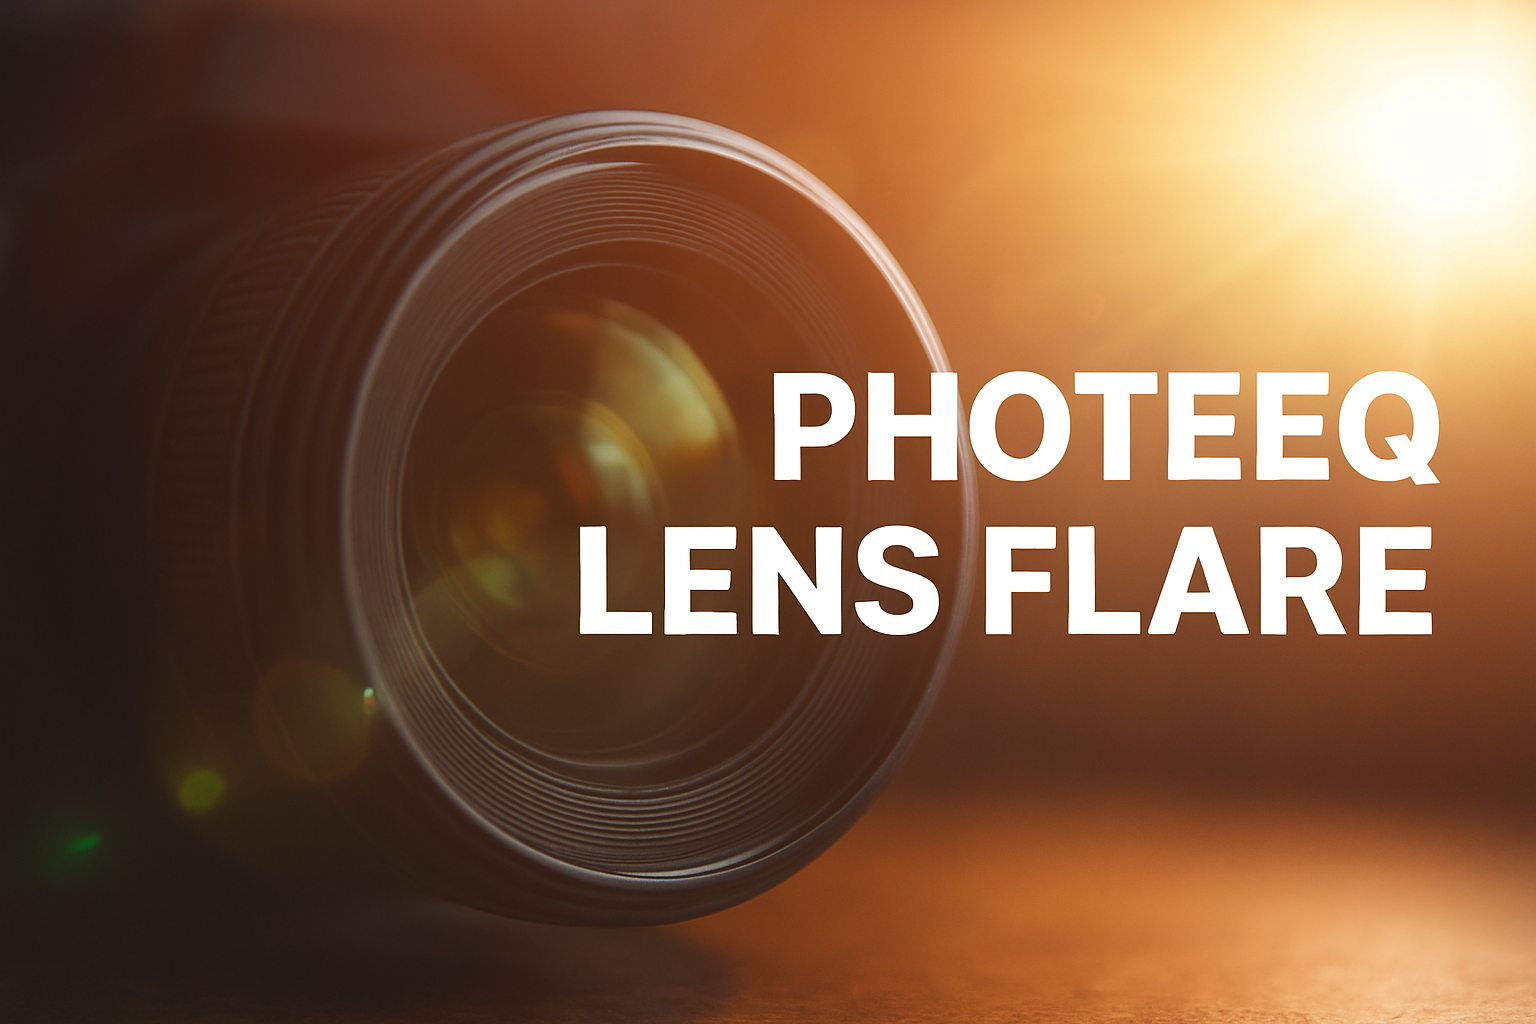
Photeeq Lens Flare: The Ultimate Guide to Realistic Light Effects
Light is one of the most powerful elements in photography and digital design. It can evoke emotion, highlight detail, and create a cinematic atmosphere. Among the many ways to manipulate light in post-production, photeeq lens flare has emerged as a sought-after tool for creators who want to replicate realistic lens artifacts without overdoing it. Over years of editing portraits, landscapes, and commercial visuals, I’ve learned that subtle light effects like photeeq lens flare can elevate storytelling in ways that go beyond simple aesthetics.
This comprehensive guide dives deep into what photeeq lens flare is, how it works, where it shines, its challenges, and practical steps to master it. Unlike superficial tutorials, this guide is built on real-world experience and actionable insights, designed for creators who want professional results.
Understanding Photeeq Lens Flare
Photeeq lens flare is a digital effect designed to simulate the natural reflections, streaks, and light blooms that occur when a strong light source interacts with a camera lens. Unlike exaggerated lens flares often seen in stylized cinema or stock effects, photeeq lens flare focuses on subtlety, realism, and controllability.
Some key visual characteristics include:
- Soft, diffused haze over highlights
- Gentle circular reflections mimicking lens glass
- Controlled streaks and light rays
- Highlight blooming that does not overpower the subject
These elements help create a sense of natural light presence, enhancing the visual story rather than distracting from it. In my experience, the most effective photeeq lens flare is one that viewers hardly notice consciously—it simply “feels” right.
Why Photographers and Designers Use Photeeq Lens Flare
The appeal of this type of lens flare goes beyond aesthetics. Based on years of observing professional workflows, I’ve noticed three primary benefits:
1. Emotional Impact
Light conveys mood. A warm, soft flare evokes nostalgia, romance, or cinematic beauty. In outdoor portraits, I often add a flare to suggest golden hour even when the sun is hidden by clouds. This subtle manipulation can transform an ordinary image into an emotionally resonant moment.
2. Depth and Spatial Awareness
A well-placed flare can create a sense of depth and dimension. It separates foreground from background and suggests environmental realism. For product photography, it can make items appear premium, adding life to reflections on metallic or glass surfaces. For landscapes, flares simulate atmospheric conditions like sunlight scattering through mist or haze.
3. Filling Light Gaps
Sometimes an image is well-composed but lacks directional emphasis. Photeeq lens flare can subtly guide the viewer’s eye by reinforcing the perceived light source, making the scene appear naturally illuminated without artificial-looking edits.
Common Challenges and Mistakes
Even experienced editors encounter pitfalls when applying lens flare. Over the years, I’ve identified the most frequent mistakes:
- Over-Intensity – Making flares too bright can wash out colors and flatten contrast.
- Incorrect Placement – If the flare does not align with the existing light source, the effect immediately looks artificial.
- Low-Resolution Flare Assets – Pixelated or harsh flare overlays break realism.
- Color Mismatch – Warm flares on cool scenes, or vice versa, disrupt harmony.
- Overuse – Applying flare to every shot reduces impact and makes the style predictable.
Avoiding these common errors is essential for creating believable, high-quality visuals.
Principles for Creating Realistic Photeeq Lens Flare
Based on years of trial, error, and observation, I recommend five core principles for realistic flare:
Principle 1: Follow the Natural Light Direction
Always align the flare with your scene’s light source. Shadows, reflections, and highlights are visual cues that guide proper placement. Misaligned flares immediately break realism.
Principle 2: Keep It Subtle
Less is more. Natural flares rarely overwhelm the frame. Reducing opacity, softening edges, and controlling bloom ensures that the effect integrates seamlessly.
Principle 3: Match the Color Temperature
Consider whether your scene is warm, cool, or neutral. Golden-hour scenes benefit from warmer flares, while overcast daylight calls for subtle, cooler tones. This alignment preserves color harmony.
Principle 4: Protect Detail
Important details—faces, eyes, logos—should not be obscured. Use soft masking or selective placement to preserve clarity.
Principle 5: Adjust for Output
The same flare intensity may appear differently on print, digital screens, or mobile devices. Always review across multiple outputs to ensure consistency.
Step-by-Step Workflow for Applying Photeeq Lens Flare
The following workflow reflects real-world experience and ensures repeatable, professional results:
- Prepare Your Base Image – Correct exposure, contrast, and basic tone first. A well-balanced base prevents the flare from exaggerating flaws.
- Identify the Light Origin – Examine shadows, reflections, and highlights to locate the most logical flare source.
- Place the Flare Layer – Use screen, linear dodge, or additive blend modes to integrate the flare naturally.
- Reduce Opacity – Dial back brightness until the flare feels organic.
- Mask Key Areas – Protect eyes, faces, or product logos using soft masks.
- Adjust Color and Brightness – Fine-tune hue, saturation, and exposure for seamless integration.
- Review at Different Scales – Check zoomed-in and zoomed-out views to ensure the effect works at multiple scales.
- Export and Evaluate – Test on different screens and lighting conditions to confirm subtle realism.
Creative Applications Across Photography Genres
Photeeq lens flare is versatile. Here’s how I’ve applied it successfully in various genres:
Portraits
- Adds warmth and life to outdoor portraits
- Highlights hair strands and creates depth
- Evokes cinematic or romantic moods
Travel and Landscape
- Enhances sunrise or sunset scenes
- Simulates light scattering through mist or haze
- Provides directional emphasis and atmospheric depth
Product Photography
- Elevates metallic or glossy surfaces
- Creates premium reflections without artificial polish
- Guides viewers’ eyes toward key features
Wedding Photography
- Enhances backlit scenes naturally
- Adds emotional warmth and softness
- Balances natural light when conditions are unpredictable
Social Media Content
- Subtle flare distinguishes content from flat, overly edited images
- Creates visual consistency across feeds
- Enhances storytelling without overwhelming the main subject
Advanced Techniques for Professionals
Beyond basic application, I’ve discovered several advanced strategies for nuanced flare control:
Using Multiple Flare Layers
Combining different flare elements allows for nuanced effects. For example, a soft haze can simulate ambient light, while faint circular reflections suggest lens reflections.
Color Grading Integration
Integrate flares during color grading to ensure harmony. Adjust hue and saturation alongside other scene adjustments to preserve visual coherence.
Selective Gaussian Blur
Blurring portions of a flare creates depth. Stronger blur on background elements gives the illusion of distance, enhancing realism.
Light-Specific Masking
For scenes with multiple light sources, masking allows separate control of flare intensity per source. This prevents one strong flare from overpowering the scene.
Texture Blending
Overlaying subtle texture (e.g., film grain) ensures that flare elements feel part of the scene rather than pasted in.
Troubleshooting Common Problems
Even with careful application, issues can arise. Here’s how I fix them:
- Flare Looks Artificial – Reduce opacity and ensure color matches ambient lighting.
- Highlights Are Overexposed – Use layer masks or reduce blend intensity.
- Scene Feels Flat – Slightly increase midtone contrast to preserve depth.
- Colors Appear Washed – Adjust saturation independently of brightness.
- Loss of Detail – Mask flare around critical subject elements to maintain clarity.
These techniques ensure the flare enhances rather than detracts from the visual narrative.
Real-World Case Study: Outdoor Portraits
I once worked on a lifestyle portrait series for a client with overcast light conditions. Direct sunlight was unavailable, making the images appear flat. By carefully adding photeeq lens flare aligned with the intended sun position and subtle warm tones, the photos gained depth and emotional resonance. Shadows were softly enhanced, and the skin tones appeared natural. The client remarked that the images felt like they were captured in warm sunlight, demonstrating the power of controlled flare in post-production.
Tools and Software for Applying Photeeq Lens Flare
Several tools allow you to create realistic flare effects:
- Photoshop and Affinity Photo: Layer blend modes, masking, and gradient-based flares.
- After Effects: For video, motion-tracked flare overlays.
- Lightroom: Basic radial gradients combined with glow effects.
- Specialized plugins: Offer customizable flare presets for precise control.
I recommend combining native software tools with subtle plugin enhancements for best results.
Optimizing Workflow for Consistency
For professional projects, consistency is critical:
- Maintain a library of preferred flare assets
- Use adjustment layers for repeatable settings
- Document color temperature choices for different light scenarios
- Review all images in a sequence before export to ensure uniformity
This approach prevents flare effects from appearing inconsistent across portfolios or client projects.
Related Concepts and Visual Principles
Understanding related lighting concepts enhances flare application:
- Light Bloom: Soft glow surrounding bright objects
- Backlight Diffusion: Gentle scattering of light behind subjects
- Bokeh Reflection: Lens reflections from bright points
- Atmospheric Depth: Perception of distance through light scattering
- Color Harmony: Matching flare tones to scene palette
These principles help create sophisticated, professional-looking visuals that feel organic.
FAQs
What is the main purpose of photeeq lens flare?
It enhances mood, depth, and realism, creating subtle cinematic or emotional effects.
How do I make the flare look natural?
Align with light direction, reduce opacity, and adjust color to match ambient lighting.
Should flare be applied before or after color grading?
Usually after basic color grading but before final polish to maintain control over intensity and color harmony.
Can this effect be used indoors?
Yes, if the scene contains a believable light source; otherwise, it may appear out of place.
Does using lens flare reduce image quality?
Properly applied and masked flares enhance the perception of quality rather than degrade it.
What is the most common beginner mistake?
Adding flare without considering light source alignment, intensity, or color temperature.
Conclusion
Photeeq lens flare is more than just a visual effect—it’s a storytelling tool. By mastering placement, color, intensity, and blending, photographers and editors can enhance mood, depth, and realism across diverse genres. The key is subtlety, attention to light direction, and thoughtful integration. With practice, this effect becomes a natural part of a professional editing workflow, allowing images to resonate emotionally while retaining technical excellence.